
Window installation step by step.

<< How to remove old weathered protective film from PVC window? | 7 most common window installation mistakes >> |
Reading Time: 5 minutes
Our requirements for the parameters of windows and doors are becoming ever more demanding. However, even windows with excellent thermal insulation properties and protection against noise can only fulfill their functions if they are properly installed.
This is worth emphasising, because the installation of windows is often described as something simple which, in principle, can be done by anyone with a basic knowledge of building principles, whereas in reality it requires the intervention of a professional.
Preparation is the key to success
Proper preparation of the project documentation is very important before the installation. The documentation (preferably drawn up by a professional designer) should also suggest the proposed solution for the joints, i.e. at the area between the window frame and the structure (openings) along its entire circumference, including the window sill. For smaller projects, such as the replacement of windows in a flat or house, clients rarely opt for costly design documentation.
In such cases, we recommend discussing the details of the installation with your potential supplier in person. It will be important to provide details of the current condition of the windows and doors, even by means of a smartphone photo (a full picture of the window from both sides and details of the openings and window frame). This should be enough for the supplier to suggest the most optimal solution for installing the window or door to the openings.
Seal installation
Articles focusing on the topic of window installation – including those written by experts – often tend to simplify the subject. But it’s not only about price and speed of installation. What counts above all is technology and the materials used. That is why, when choosing an assembly team, the customer should make sure whether the price offer includes only the installation with the use of foam, or also a sealing tape, ensuring vapour-proof sealing inside and waterproof sealing outside. The use of tapes, in order to ensure maximum effectiveness, involves meeting specific standards and following appropriate technological procedures.
Unfortunately, this solution will not work in all cases. The application of sealing tapes may be particularly problematic in the case of reconstruction, when the old window is replaced by a new one. It is impossible to remove the original window without affecting the existing openings. Fortunately, the market provides suitable materials, offering a wide range of solutions in this aspect. It is definitely not advisable to leave long gaps between the installation of the windows only with the use of sealing foam and the continuation of construction works (such as the thermal insulation of the openings).
How to proceed + what to avoid when installing windows
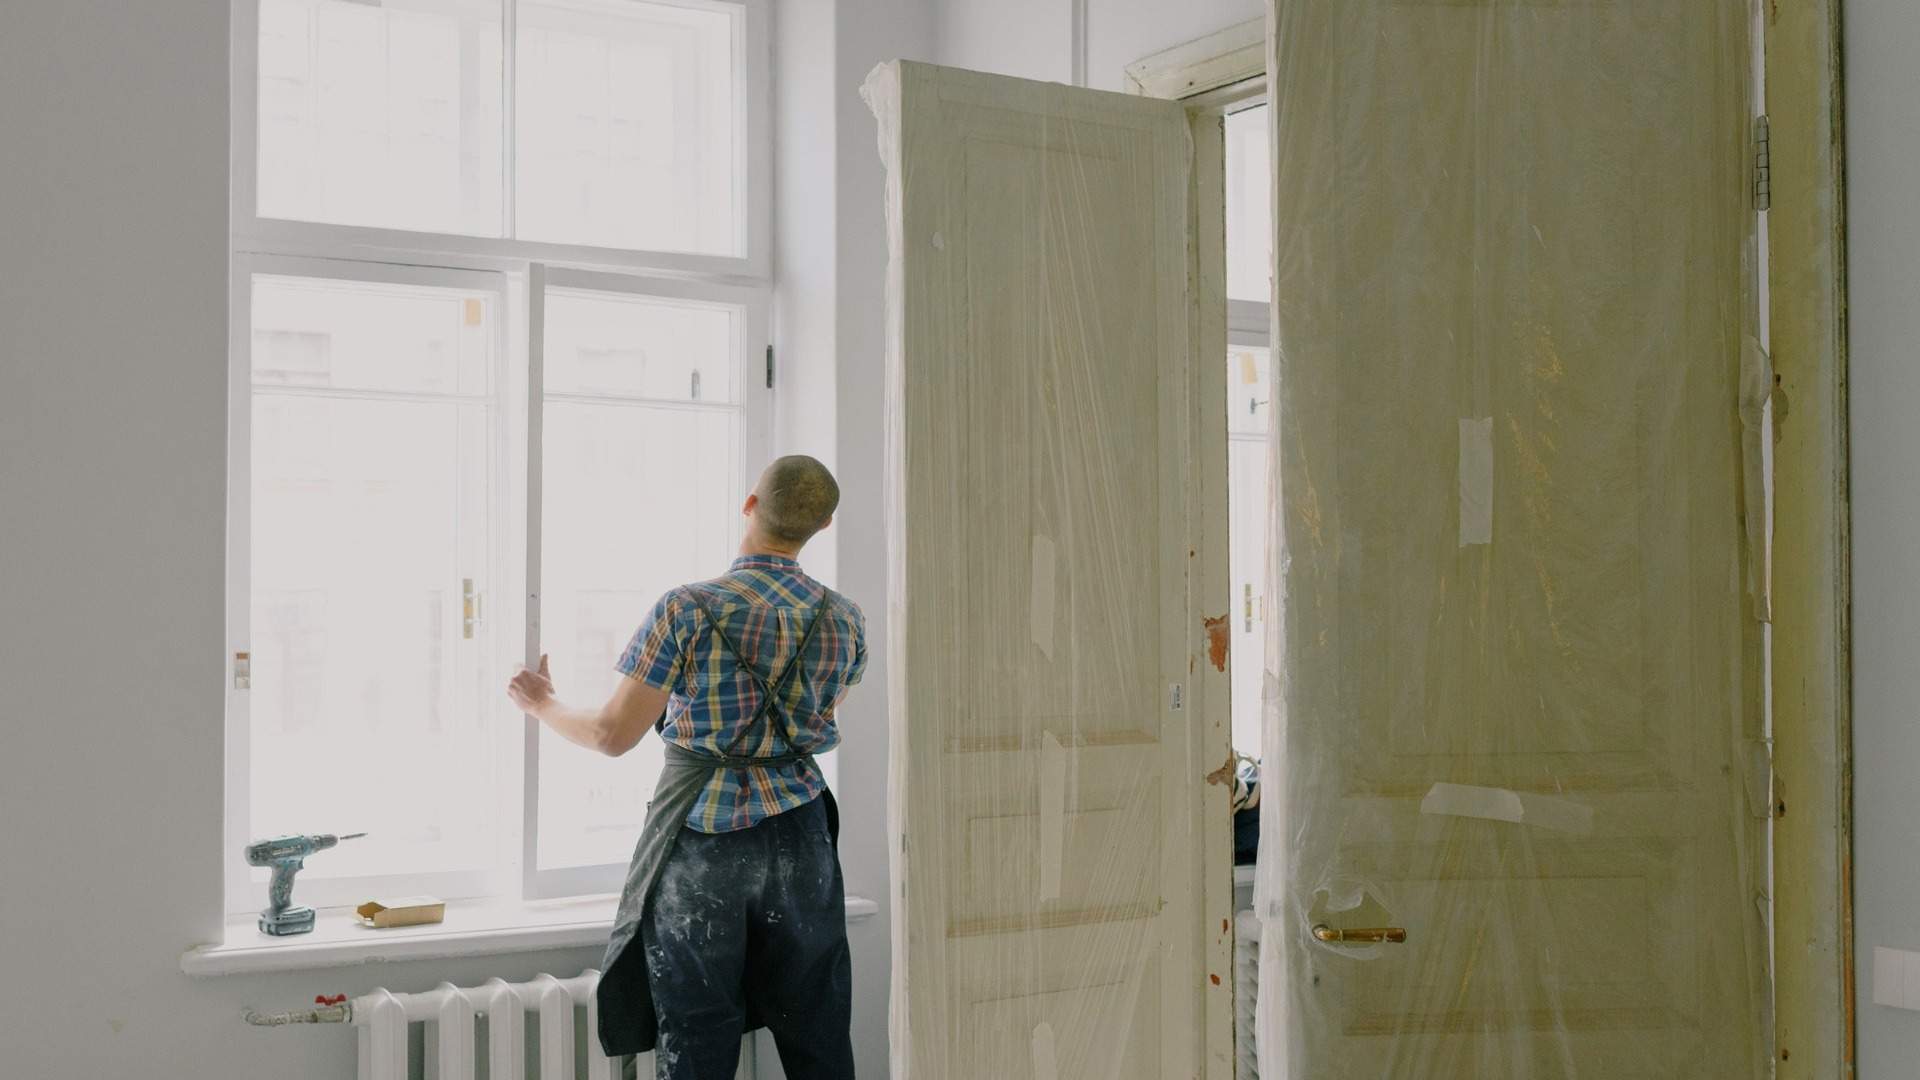
1. Removal of the old window (in the case of reconstruction)
Builders from a specialised company will first remove the old window. If the process results in noticeable unevenness of the openings surface or plaster falling off, these will need to be leveled to allow for proper window frame installation and sealing. Reinforcing and levelling the openings should not be underestimated, even if it requires more than one working day!
2. Installation of the window
The window is inserted into the opening prepared in the construction and set in the right position using a level and wedges in the window frame. It is then fixed with anchors or dowels. Correct implementation is of key importance for the trouble-free use of the window and its long life (ensuring proper thermal and acoustic insulation, resistance to moisture, and also ensuring the smooth movement of the window sash and proper window closing).
3. Installation with tapes
If installation using tapes is chosen, they should be applied after the window has been placed in the correct position. It is necessary to check that the tapes are placed correctly – vapour-proof on the inside and waterproof on the outside. Tapes are usually marked.
4. Window sills
Often the window sills do not receive much attention during installation, but their insufficient or improper thermal insulation can result in the appearance of a thermal bridge under the window and freezing in this area in winter. When installing the window, it is necessary to choose a suitable solution for the given case, which guarantees sufficient thermal insulation in this area, such as the use of special under-window profiles filled with thermal insulation (e.g. thermal foam) or the use of ready-made underlay made of special thermal insulation material. The height of the window frame underlay must be selected in such a way as to enable proper thermal insulation and waterproofing, as well as guaranteeing an appropriate slope to the outside in order to drain rainwater.
The width of the internal sill should be selected so that it does not extend too far beyond the contour of the wall, as this would disrupt the circulation of air heated by the radiator. The front edge of the outer sill should extend at least 30 mm beyond the contour of the wall, with a recommended gradient of more than 3°. The end of the sill on the sides towards the opening must prevent water from penetrating under the sill and damaging the plaster. The thermal expansion of the window sill must also be taken into account.
5. Wall finishing
The connection between the jamb and the profile should be made e.g. with an APU strip, which ensures a perfect connection between the plaster and the window frame, at the same time protecting the window against scratching during plastering. Attention: plaster should never be used directly on the profile – it would cause damage of the plaster as well as the window frame by thermal movements of the window.
6. Removal of protective films
After completion of the installation and preliminary cleaning of the windows after the construction work, it is recommended to remove the protective films. If you decide to do this yourself a little later, you should take into account that the detected possible damage may not be taken into account by the window manufacturer. Attention: Please follow the profile manufacturer’s recommendations regarding the time when the foil should be removed after the window installation. Leaving the protective film on the profile for too long may cause difficulties in its removal (Removing old weathered foil).