

Installation foams have a very wide range of applications in the construction industry. They are valued above all for their excellent properties and ease of use, but it is not uncommon for residues to remain on various surfaces after the work has been completed. How can polyurethane foam be easily and safely removed without causing damage?

Application of installation foams
Polyurethane foams, or assembly foams, are commonly used during construction work. They are mainly used for the installation of windows, front doors, roller shutters and garage doors. Assembly foams are also suitable for filling cracks between materials or finishes, thermal insulation of roofs, water and central heating networks, as well as filling clearances and furrows in walls, ceilings and roofs.
Removing installation foam from windows – tried and tested methods
Before you set about removing mounting foam from windows, there is one golden rule to remember – don’t use any sharp tools or invasive chemicals. If you use a knife, sandpaper or an overly strong product, you may cause irreparable damage to the substrate. As a result, your previously beautiful new PVC window will look unsightly to say the least.
There are many products on the market for removing installation foam. Depending on where the foam is dirty or how hard it has hardened, you can choose from special wipes, spray cleaners or solvents in a paste, among others.
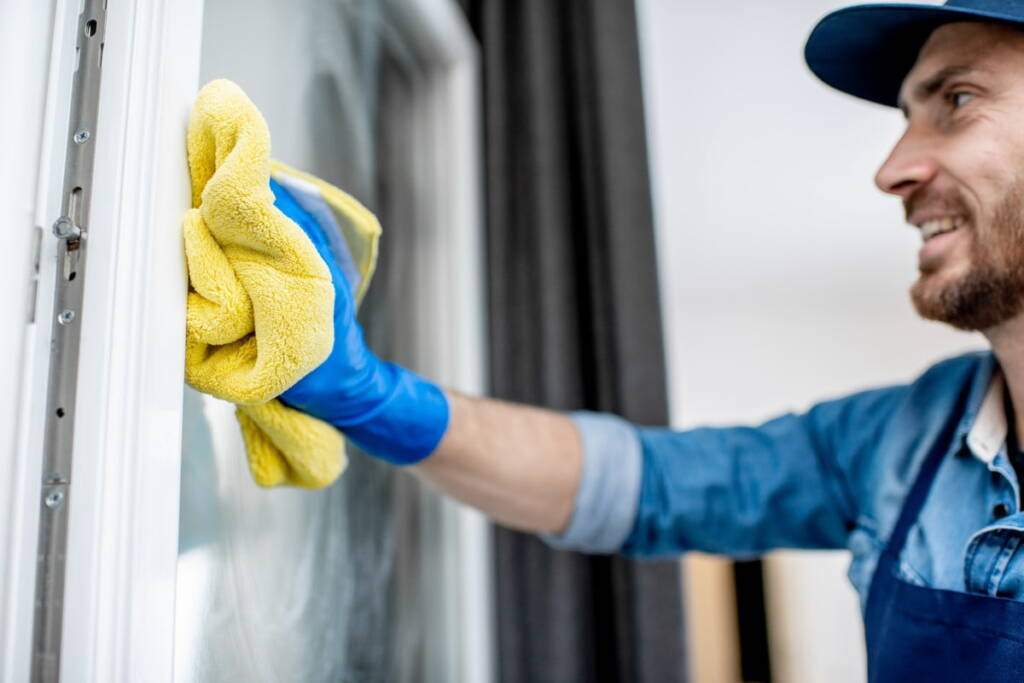
The first two solutions will work well when the foam is not yet cured. If you choose a cloth, simply wipe the soiled surface with it. On the other hand, if you choose an aerosol cleaner, fit the spray nozzle to the valve of the bottle, spray the soiled area with foam and then wipe it off with a dry cloth or paper. Both cloths and cleaners can also be used to remove installation foam from tools, but only special cloths are actually suitable for cleaning hands.
Window installation foam should be removed as quickly as possible, preferably as soon as the contamination is visible. Otherwise, the foam will harden, making it much more difficult, but not impossible, to remove. So, how do you deal with dried mounting foam or marks left on windows by professionals?
In this case, the last of the above-mentioned preparations, a solvent in a paste, is the best solution. Before application, the hardened foam should be cut out as much as possible with a knife. However, this must be done carefully so as not to damage the substrate. Apply the solvent generously to the remaining foam on the surface and wait for the foam to soften. The longer the foam has been on the window, the longer the waiting time will be. The dirt should then be removed with a wooden or plastic spatula and the residue wiped dry with a clean cloth and washed. If the results are not entirely satisfactory, repeat the whole process.